

Harvesting a worm bin for worms and harvesting for castings are two different things. If you are not growing worms as a commercial operator (as I'm assuming most if not all of you are not) then harvesting worms is as simple as taking material off the top of the worm bin which will be full of worms and sharing them.
However, if you are harvesting castings, which pretty much anyone growing worms will do at some point, then the process as I do it is revealed below.
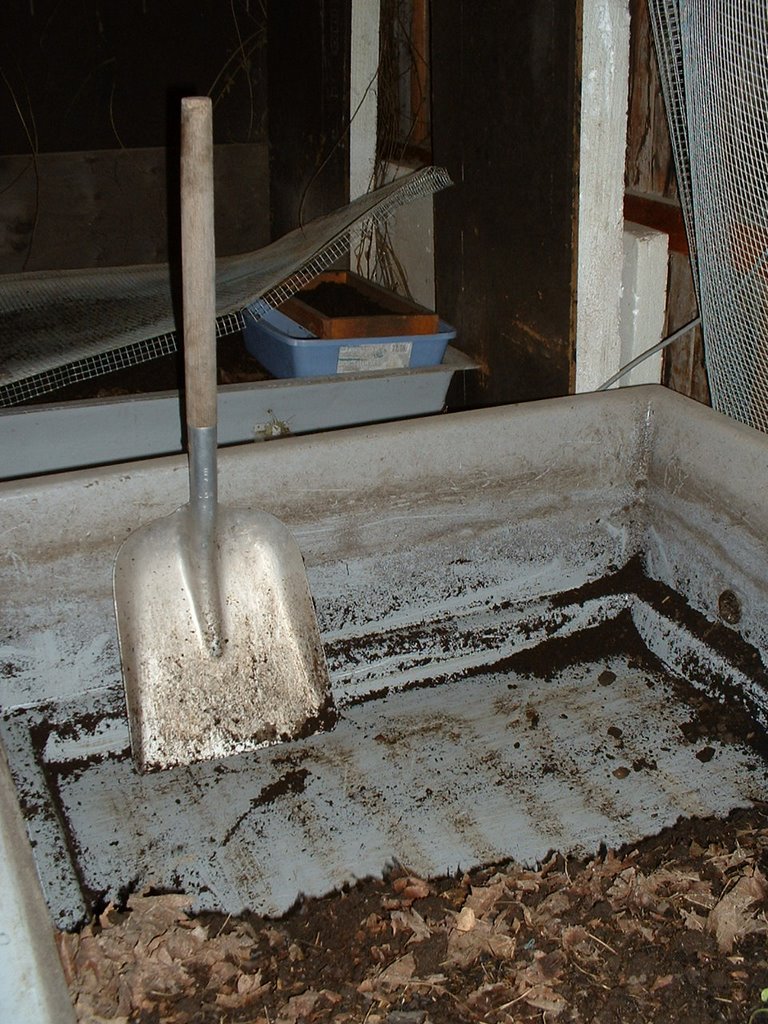
Photo 1 shows the bin before I get started. Along the sides you can see the lines of where the product started in November when I move as much product from the bottom of my bins to one end to cure. The material continues to compost and dry. As the material finishes composting the volume decreases. Here is a shot of what the material looks like that I am harvesting from the worm bin.

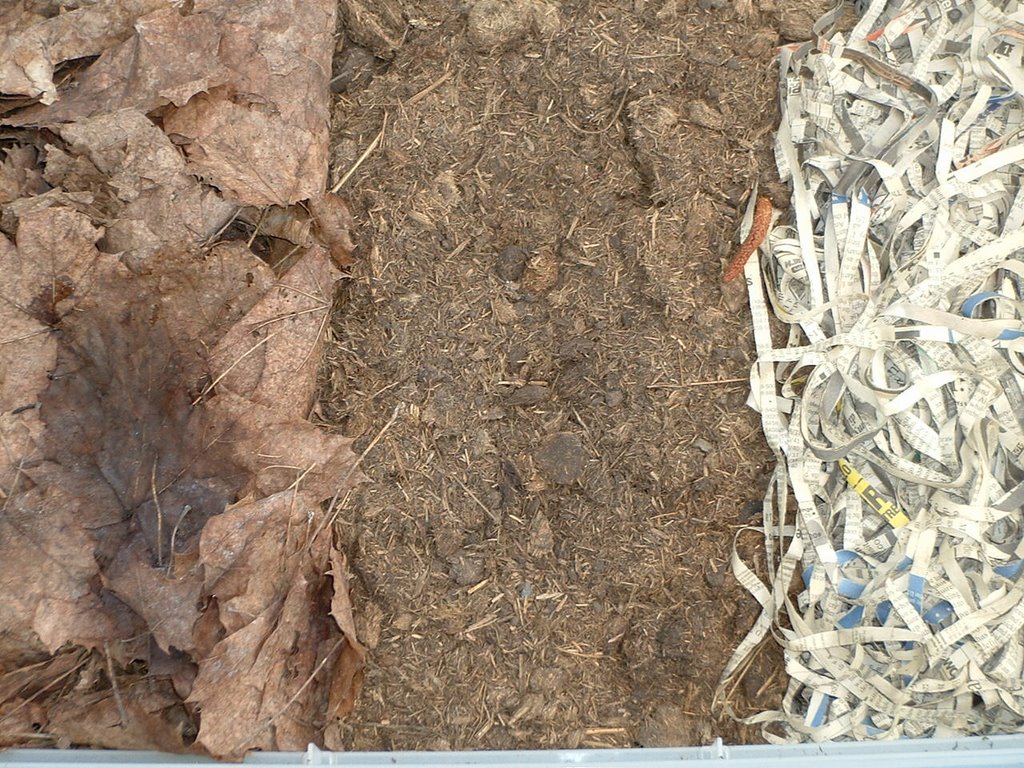
On the right is the material I start with and on the left the finished product. Along with the leaves, manure, and shredded paper, I feed the worms food waste.
The first thing you do to harvest your bin is to get all the finished material out of the bin. Then you start moving the fresh bedding with most of the worms either out and into another holding bin, or in my case, I just work my way down the bin, piling the fresh material with the worms in it at the end of the bed.
This is the fresh bedding from the top filled with worms being piled down onto the top of the oposite end of the bed.


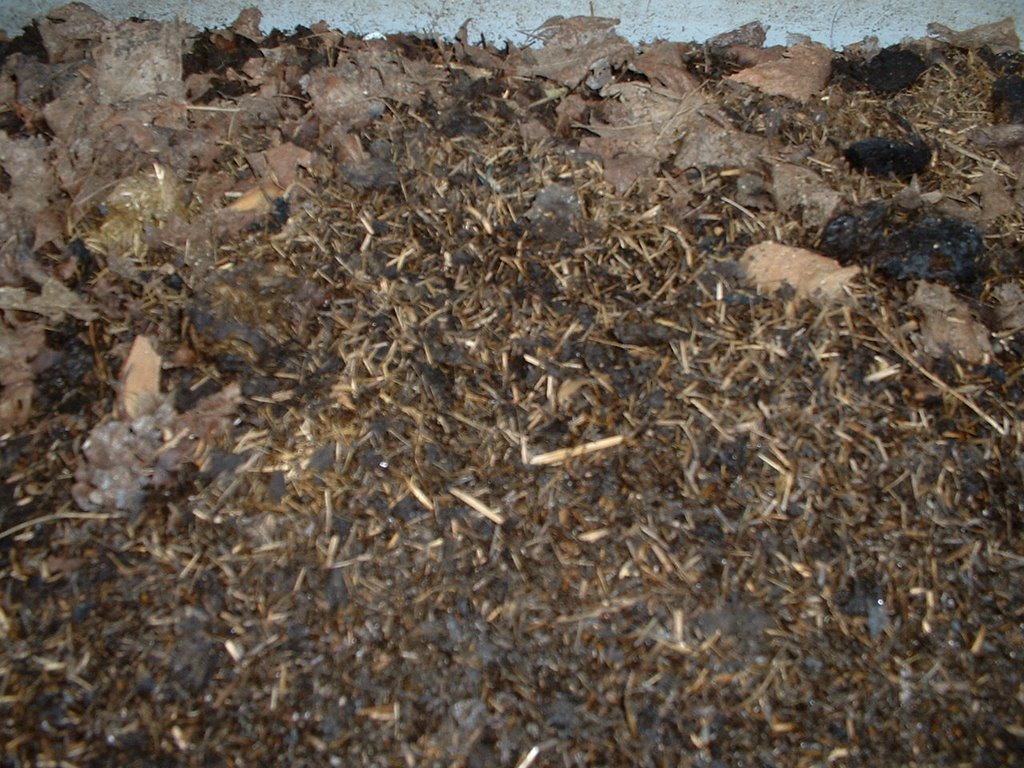
The picture above shows the layer of worms in the top layer of material. The finished material will be in the bottom 1/3 t0 1/4 of the bed. It depends how long the composting has been taking place since last harvest.
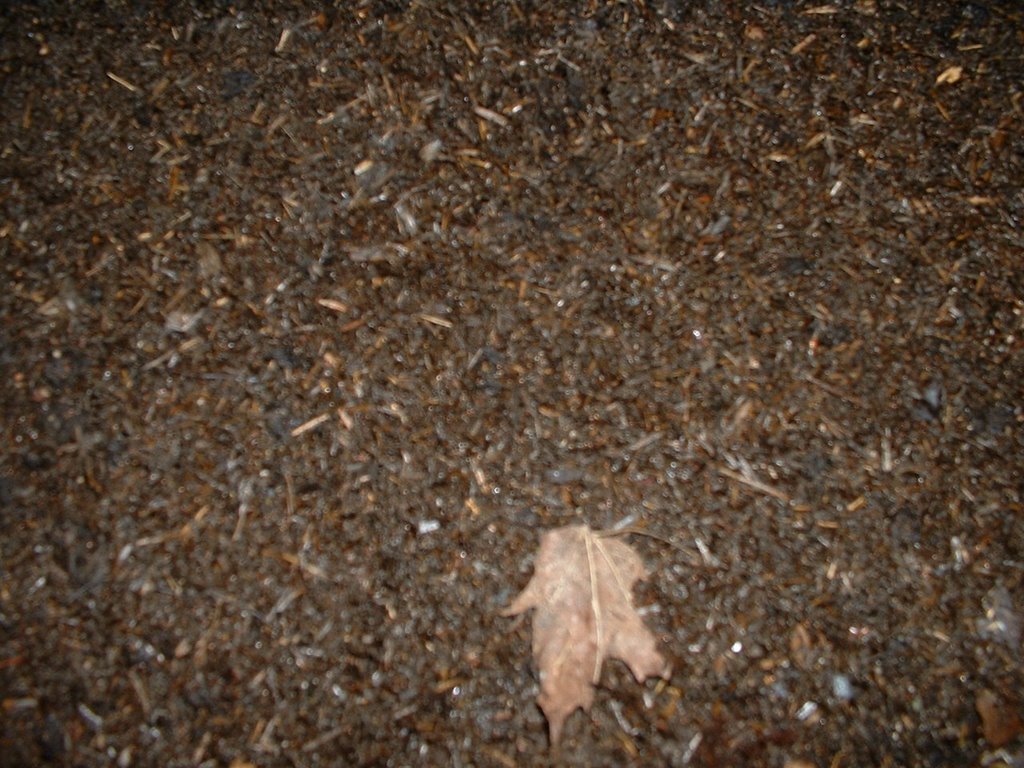
This picture shows the center of the composting area before it was disturbed, which is surrounded by uncomposted material such as the picture directly above this one.
This material is full of worms and will stay in the bin to populate the new bedding to be added.

The finished material at the bottom of the bin will be pulled down to the empty part of the bin, filling that end up.
The material with the worms in it will then be put into the now vacated portion of the bin, leveled out and new bedding material will then be placed on top.
 This new material will need to be smoothed out, watered, and watched to make sure the moisture level is brought up to where the worms like it. This may take a few days depending on how wet your bedding material was when it was initially added to the bin.
There, you are done. The finished material can then go into another holding area to continue drying if need be, screened if desired, and used for whatever purpose you have for it.
More pictures will be posted to further explain this process. Email me if you have questions or feel free to post a comment to benefit all.]
Happy Harvesting,
Christy
MotherEarth'sFarm.com
Where good things come from for body and soil.


No comments:
Post a Comment