- Will you compost outside with a conventional compost pile and add worms to that?
- Will you compost in worm bins?
- If you compost in worm bins, what size will they be?
- Are you composting to handle your organic waste, for the by product, or both?
- Do you want the bin in the house, the garage, or out-doors?
- Do you want a plastic bin, a wood bin or perhaps you want to be creative with something out of the ordinary.
Whatever you decide, there is a plethora of materials out there to use.
I am a commercial grower and therefore my main bins are of commercial size. They are 4'x8' Fiberglas heated bins. Here is a picture of one:
If you want to do an in-door bin, or an in-bin as I call them here is a sample of that:
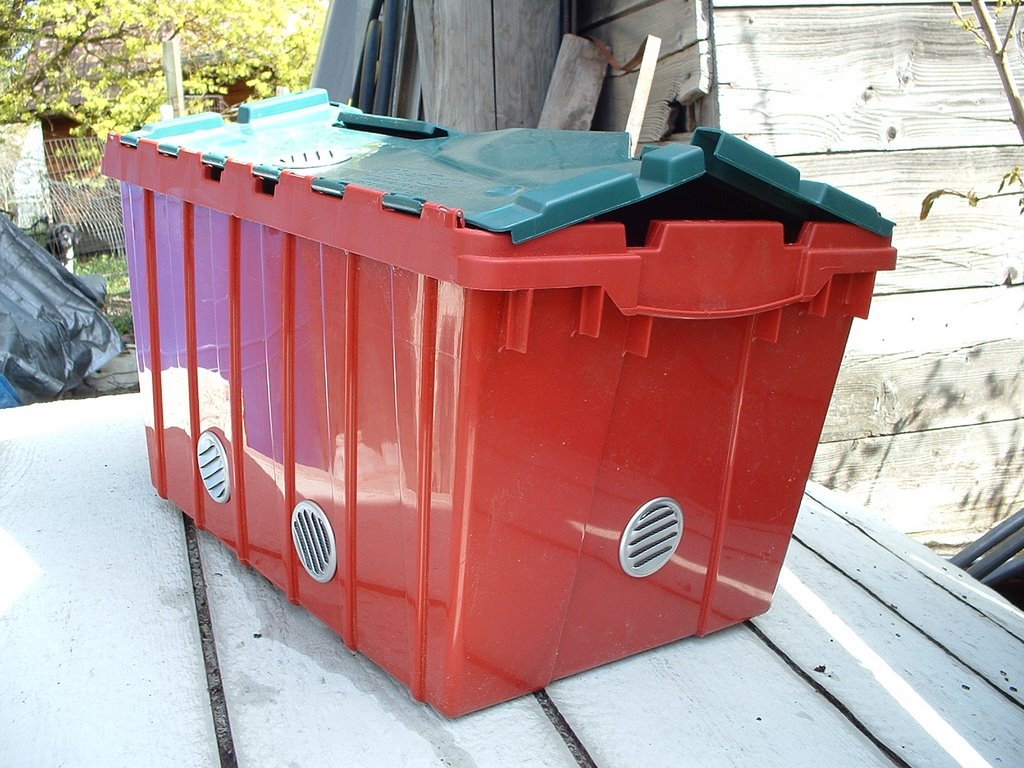 These can be made out of any plastic tote. It simply needs to be a solid color, not opaque as the worms do not like light and would not be happy in a bin that allowed light in all around. I like the attached lid of this bin and the hard plastic. Vents can be found at a builders supply store. Vents must be put in the top and the bottom as well as the sides. You can't have too many vents as long as you do not compromise the integrity of the tote. You need to be able to move the bin.
I have had people ask me about using old freezers, bath tubs, I heard of one person modifying an old phonograph to be a worm bin, and another had the bin in the window seat of the kitchen window. Really, you can use anything that will hold bedding material and will allow for the escape of excess moisture and the circulation of air. The less accommodating to these needs the more maintenance will be required.
Next I will show you the tools I use the most in working my bins. In the smaller in-bins the main tools are your hands and some rubber gloves.
Happy worming,
Christy - Wormnwomn
wormn@motherearthsfarm.com